Product Categories

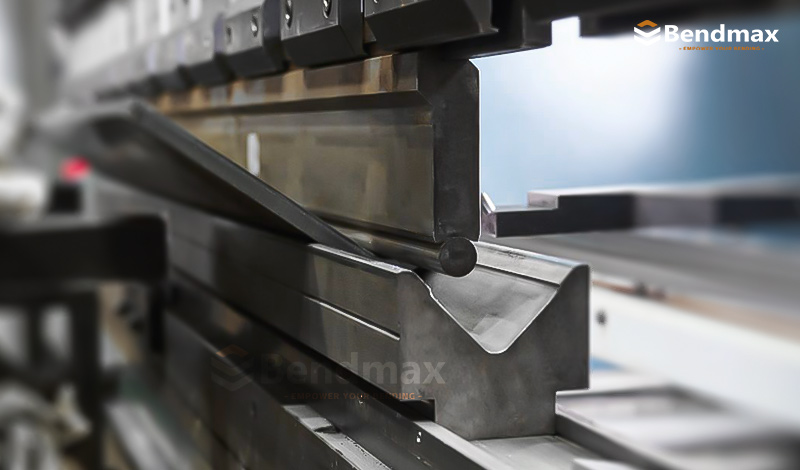
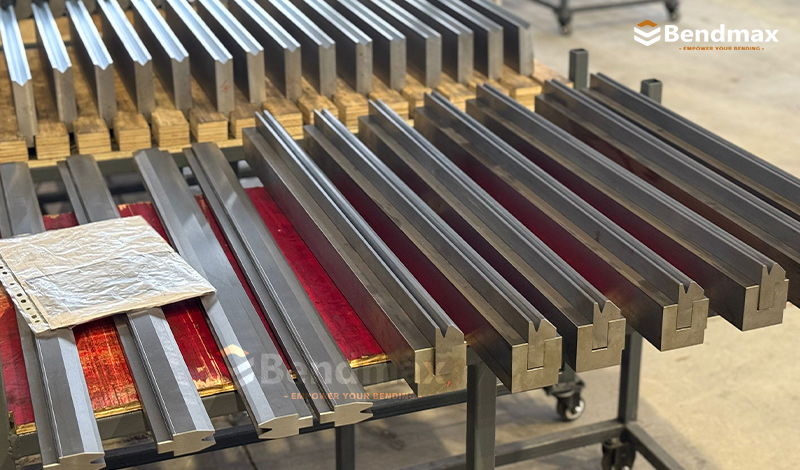
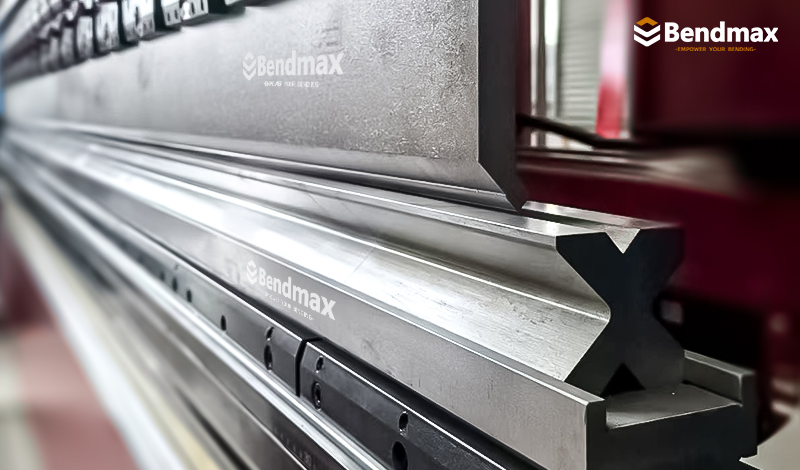
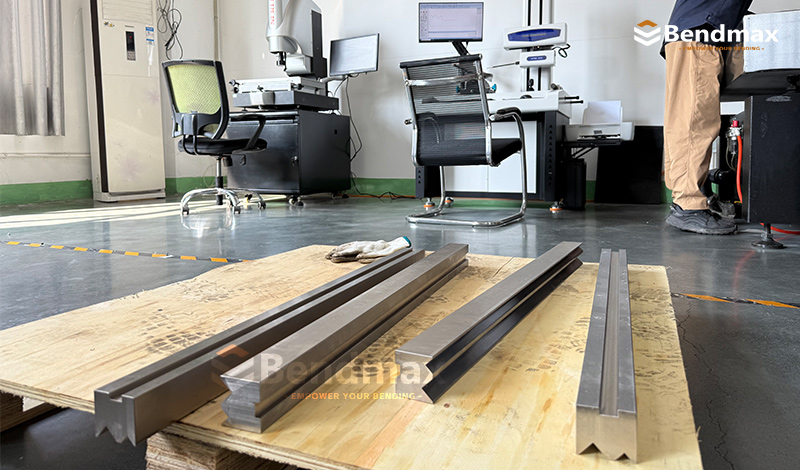
Explore our full range of press brake components designed for precision bending,  and long service life. We offer one-stop solutions including press brake tooling, cylinders, clamping and crowning systems.
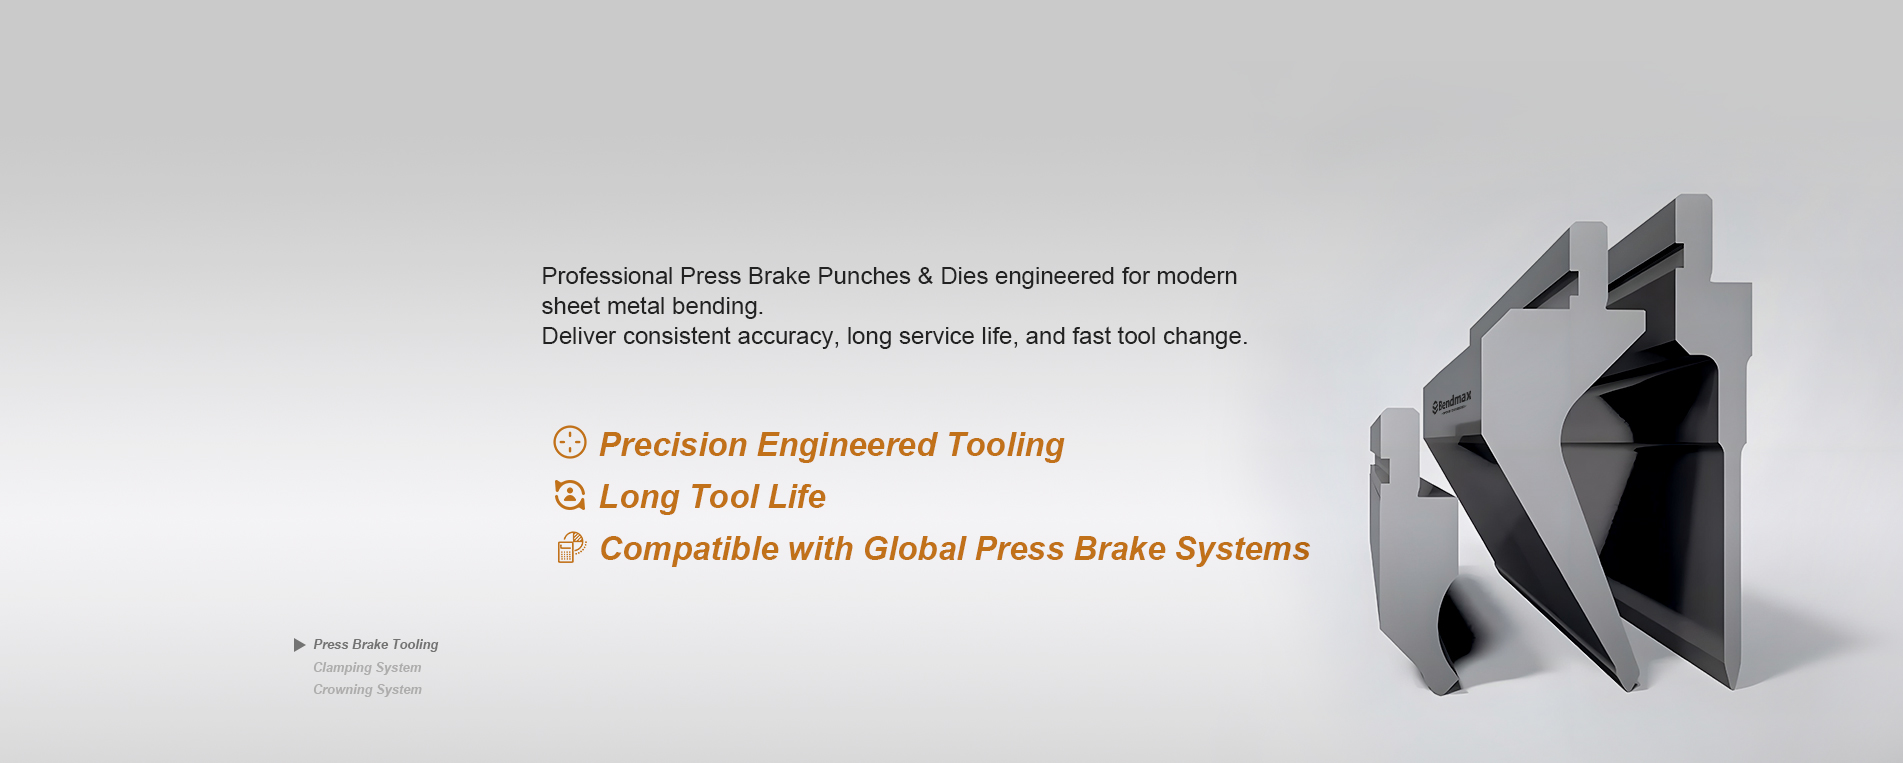
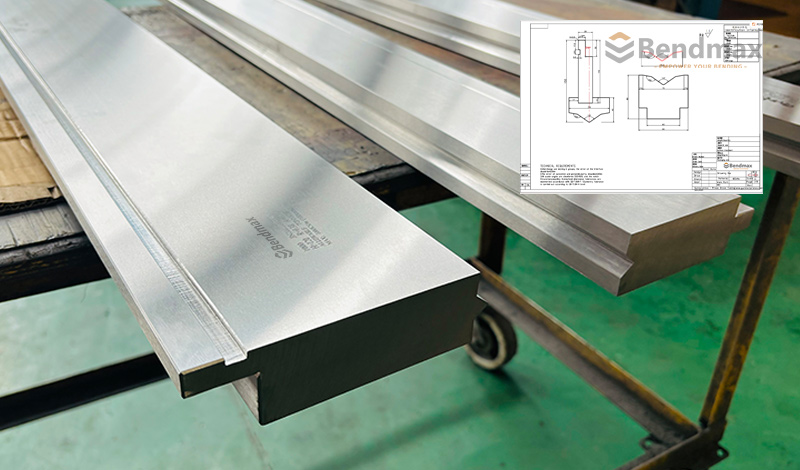
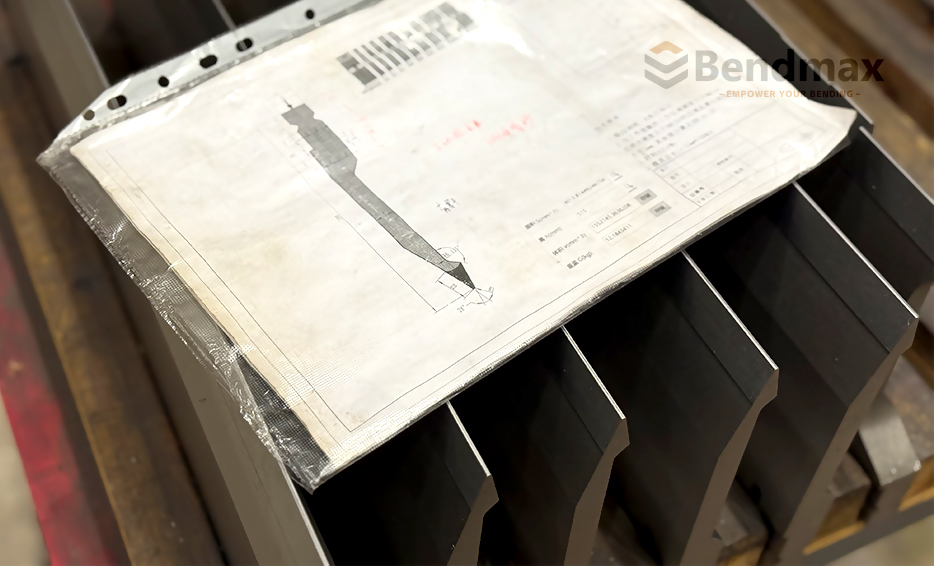
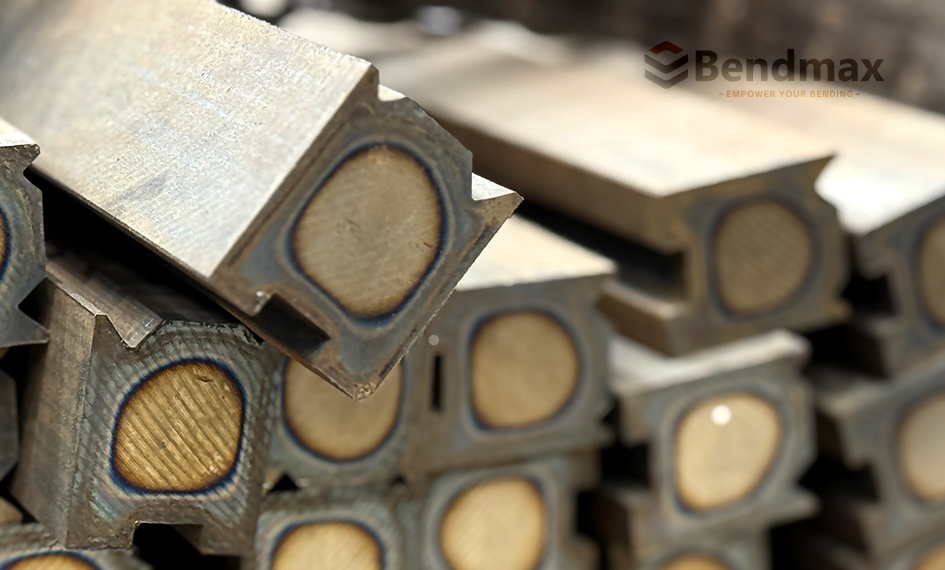
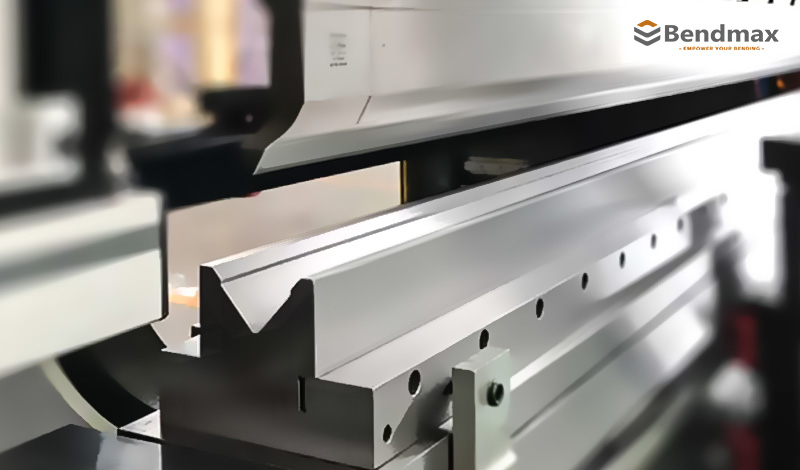
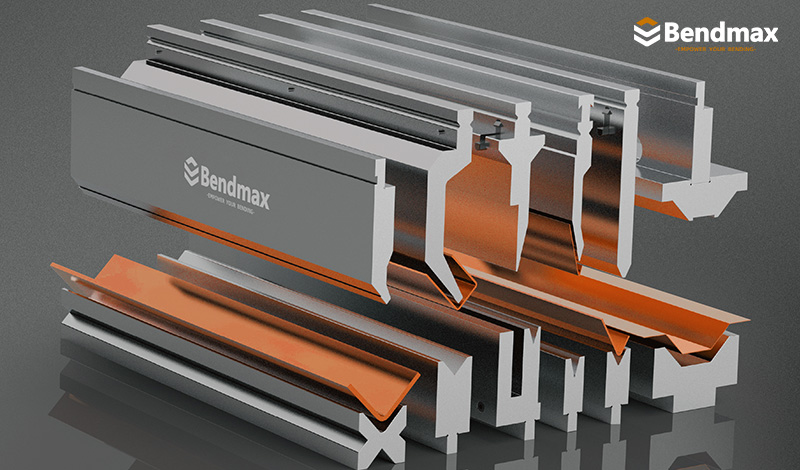
Press Brake Tooling

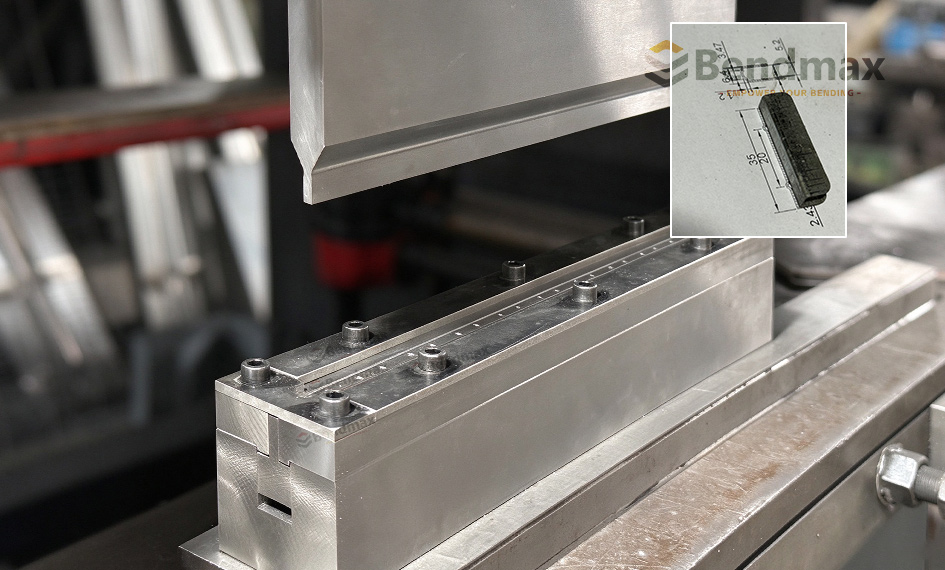
Press brake tooling for Amada,Wila,bystrinic,etc. systems

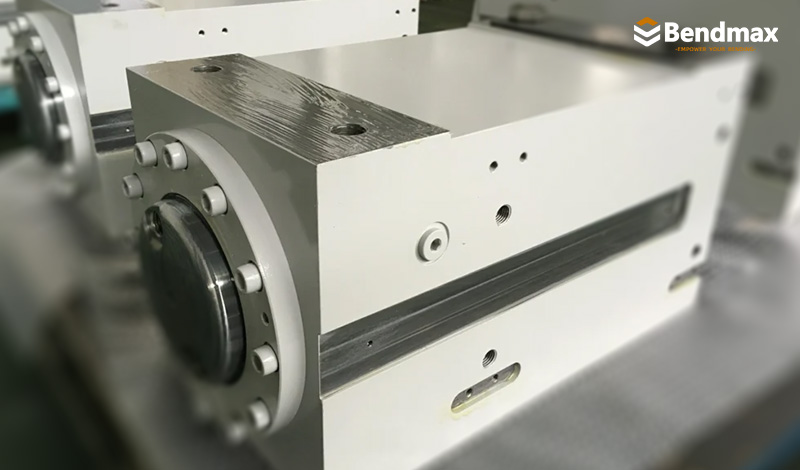
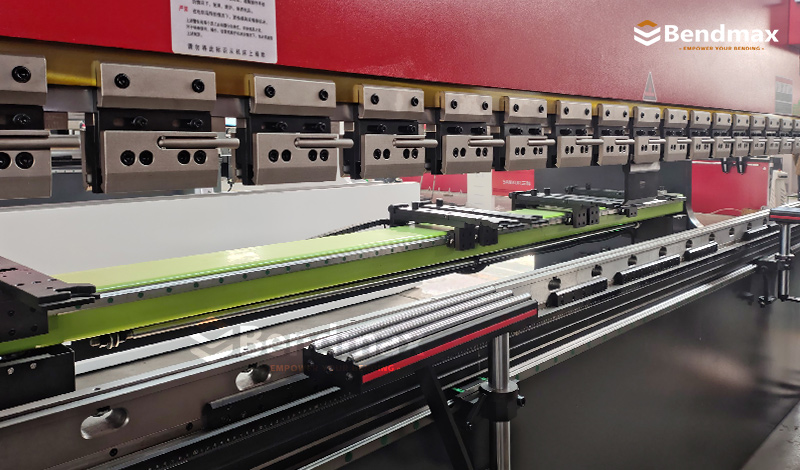
Press Brake Cylinder

Press brake cylinders for Y1, Y2, CNC models

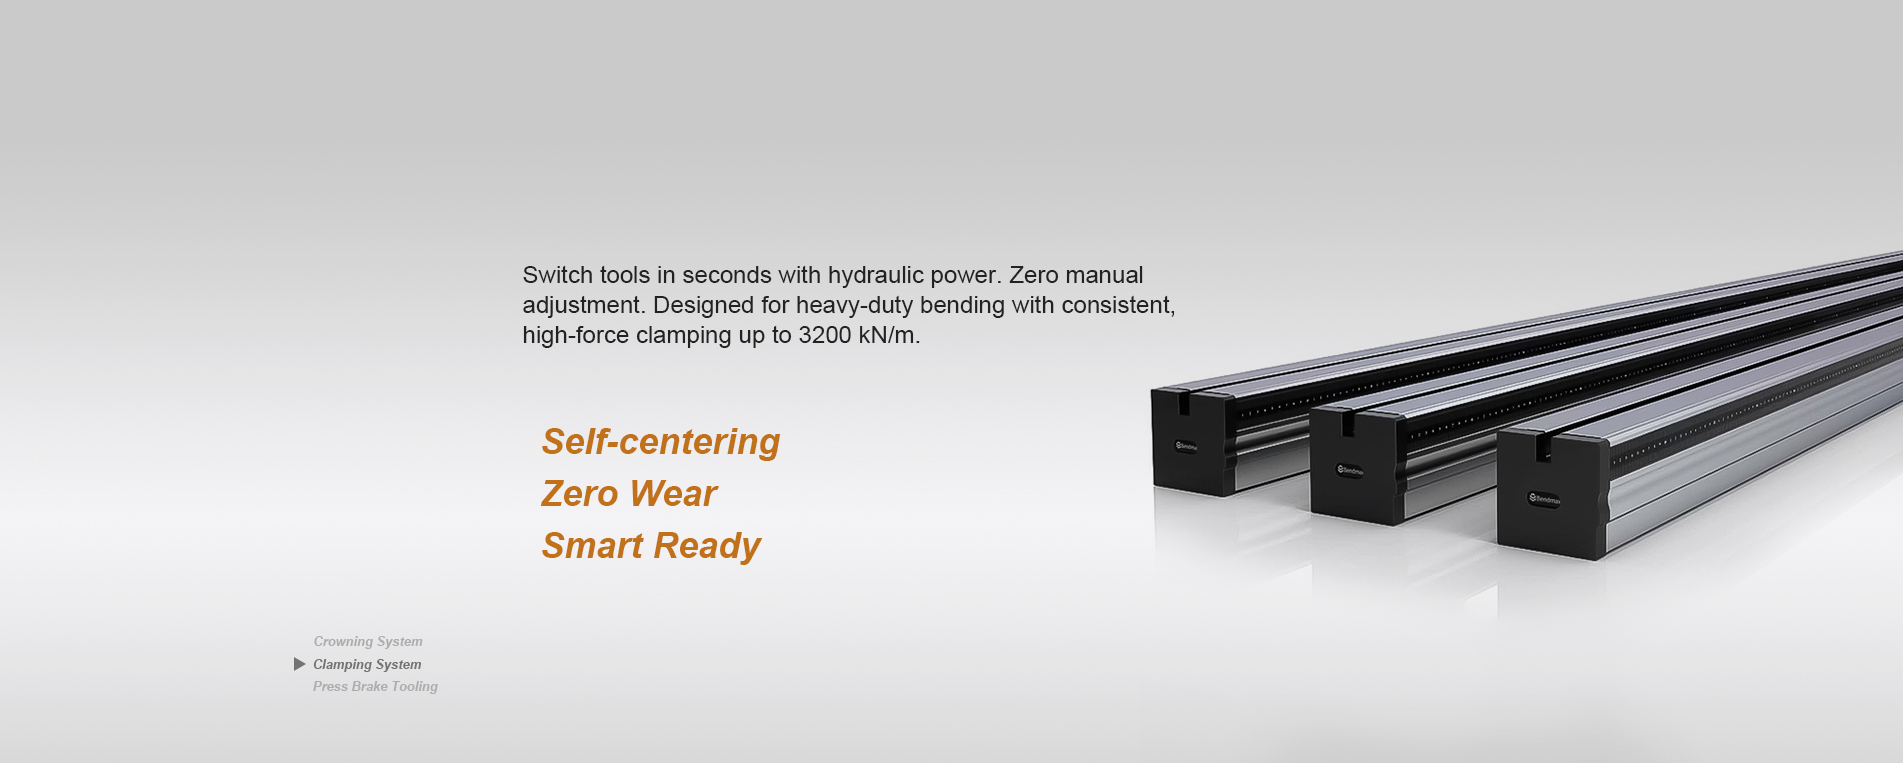
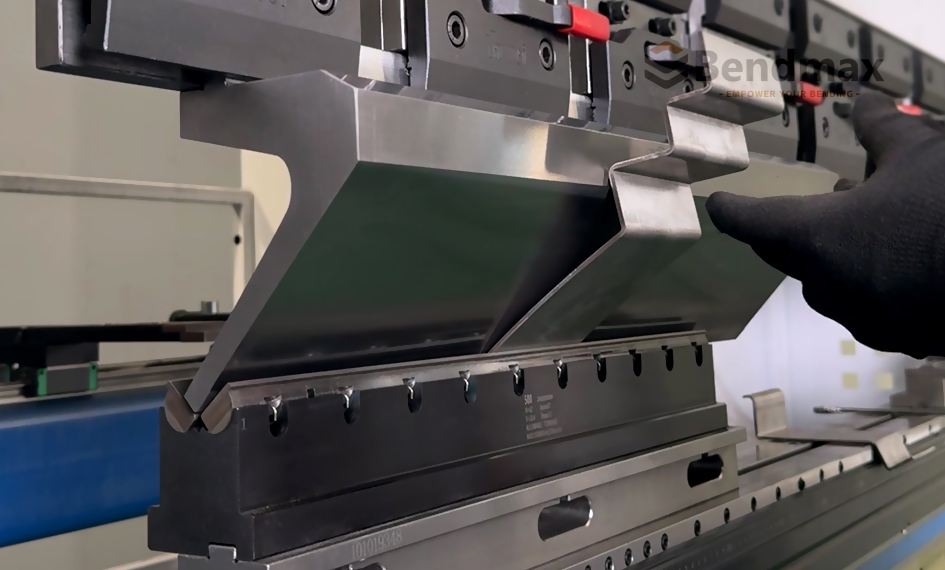
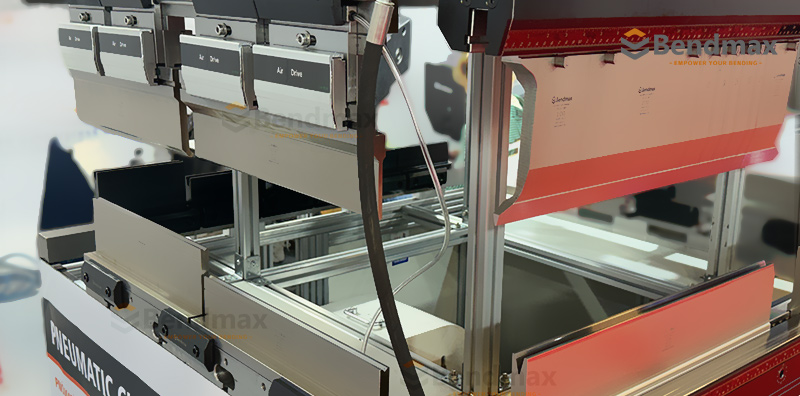
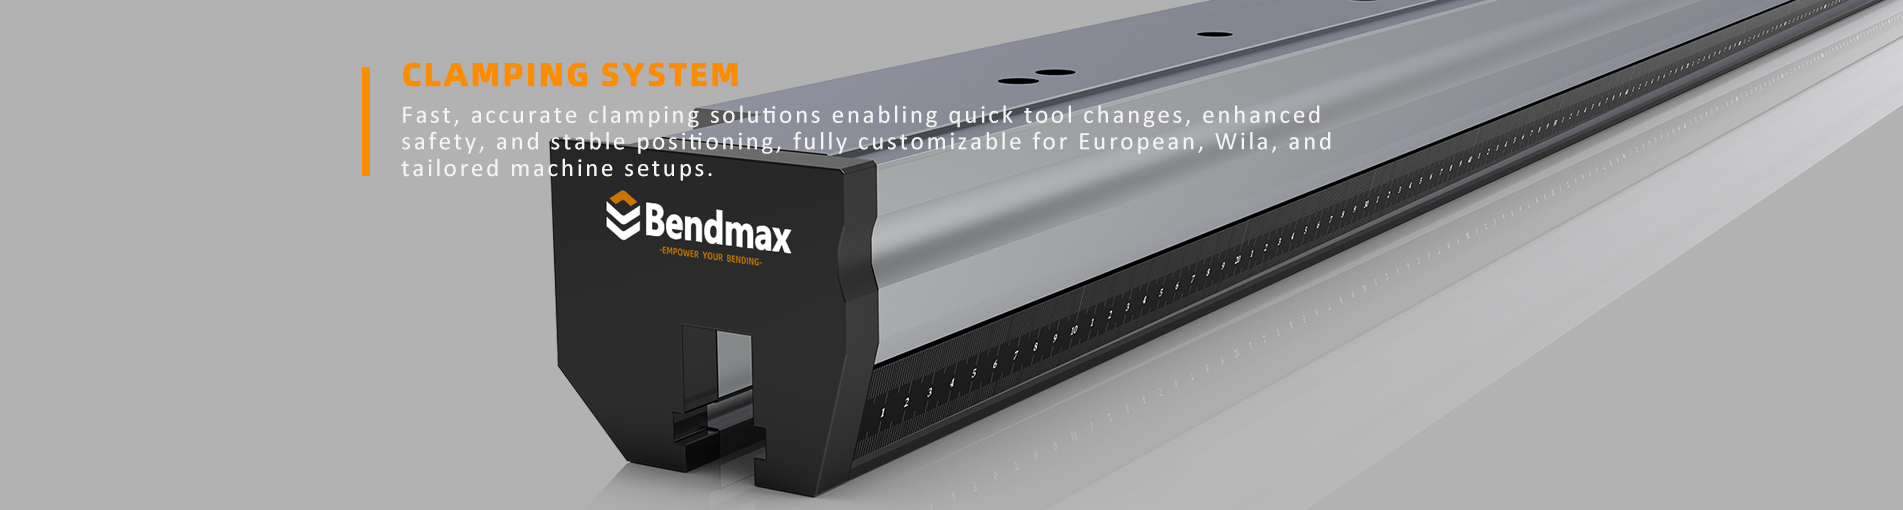
Clamping System

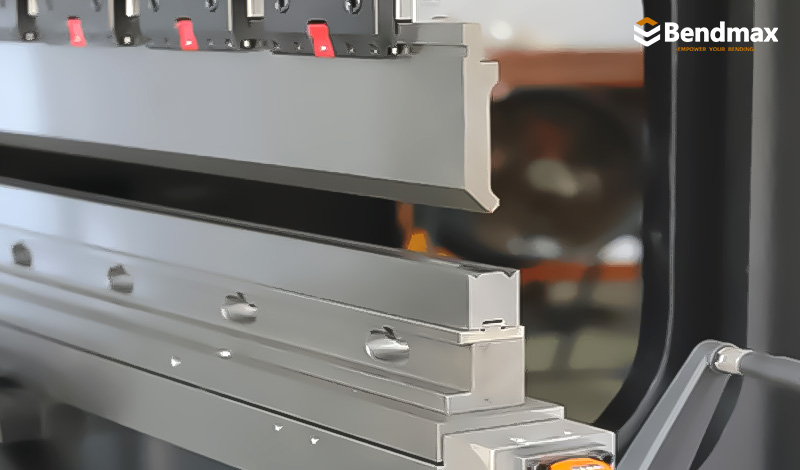
Clamping systems for Amada, Wila, manual, hydraulic types

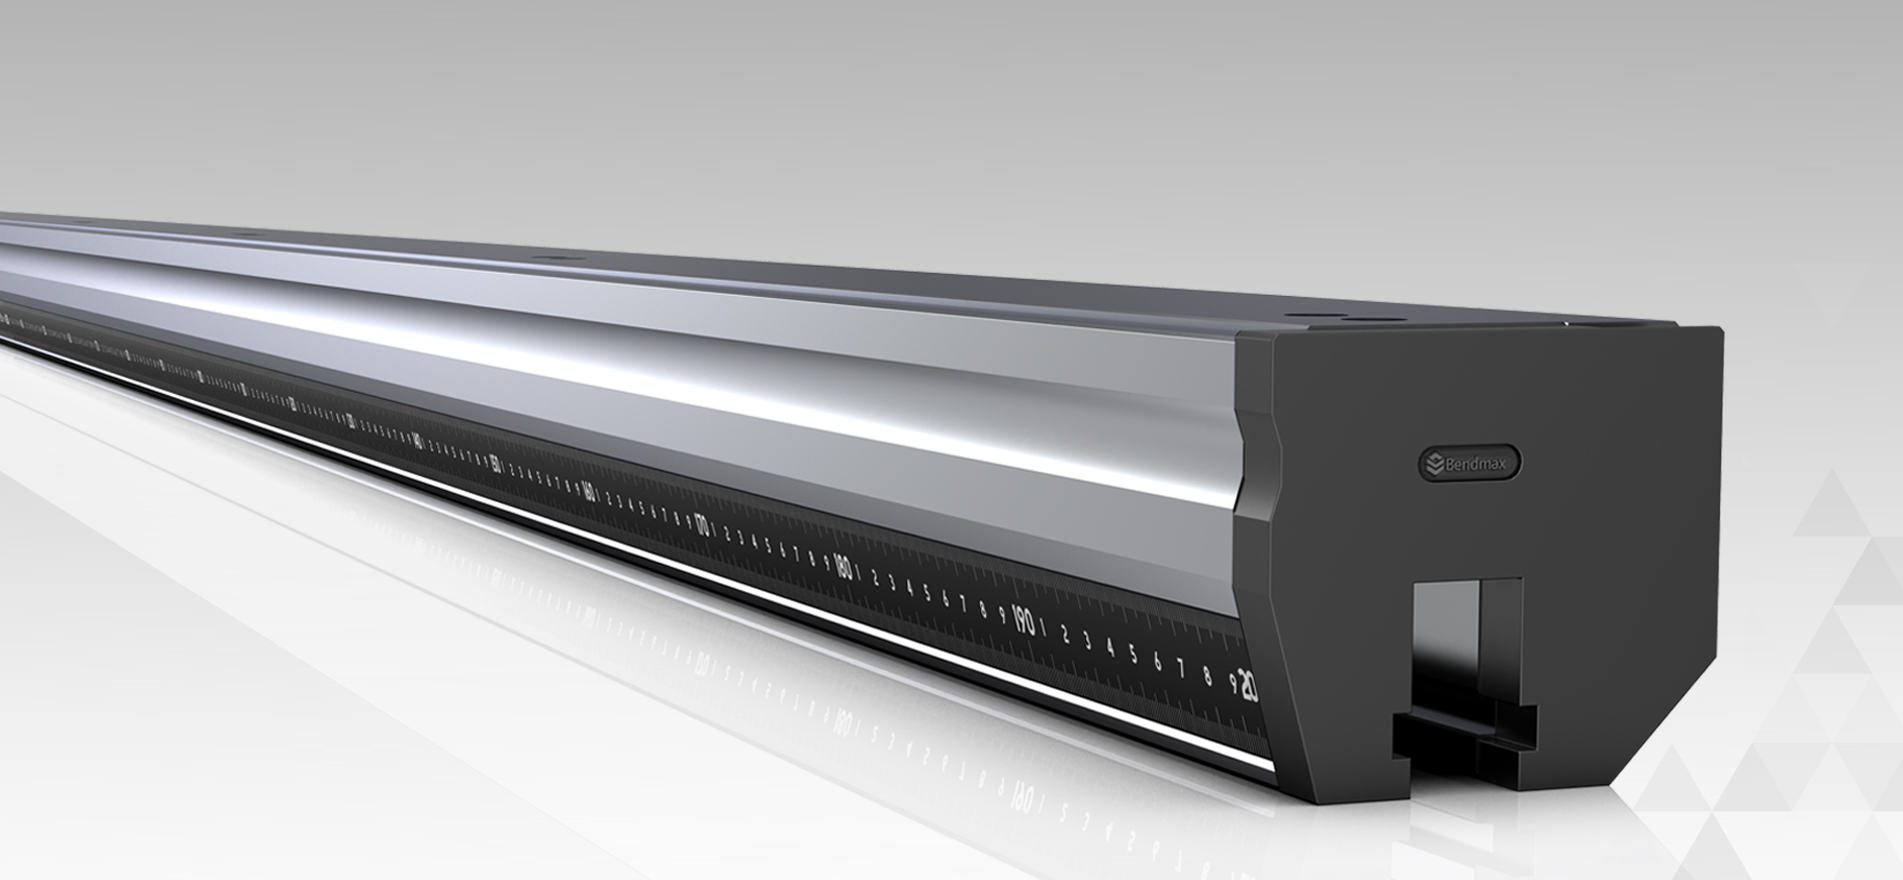
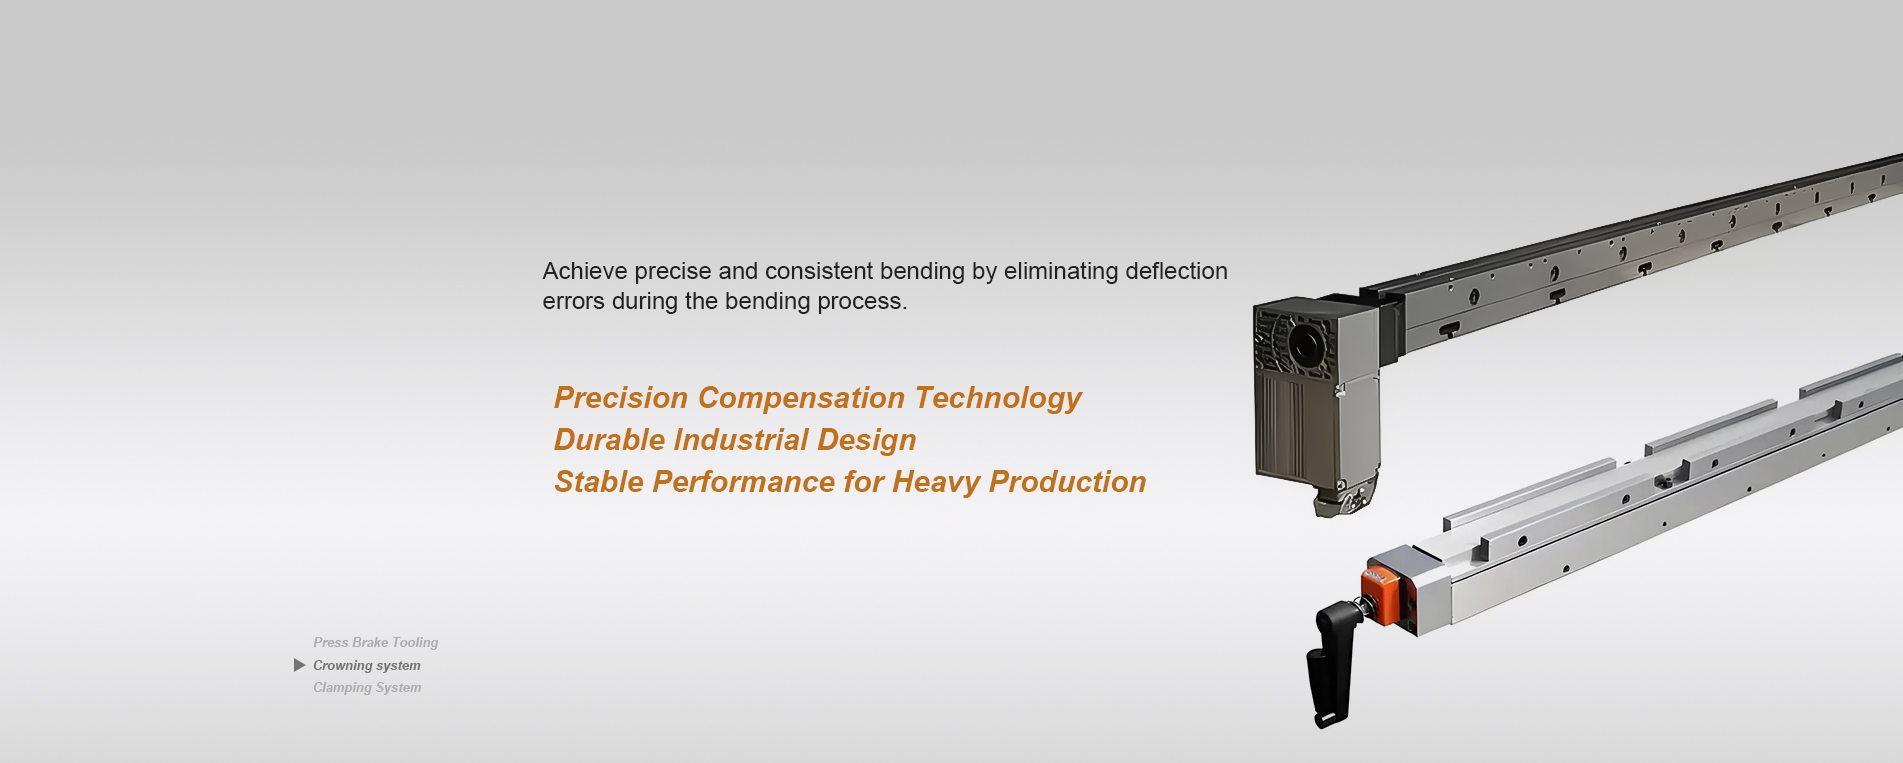
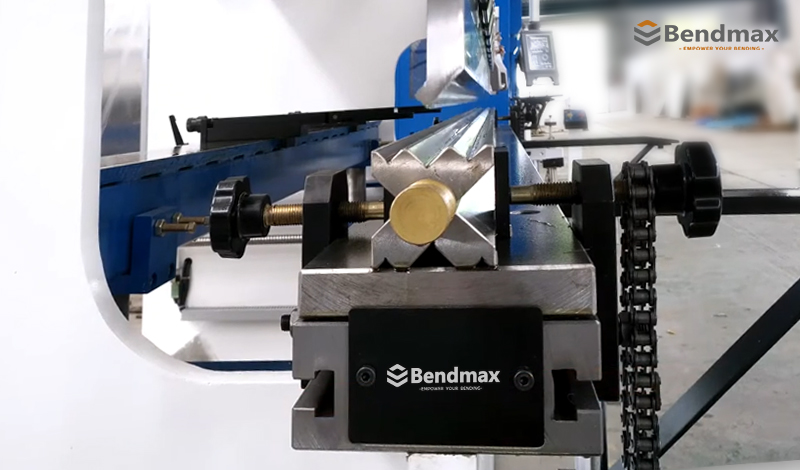
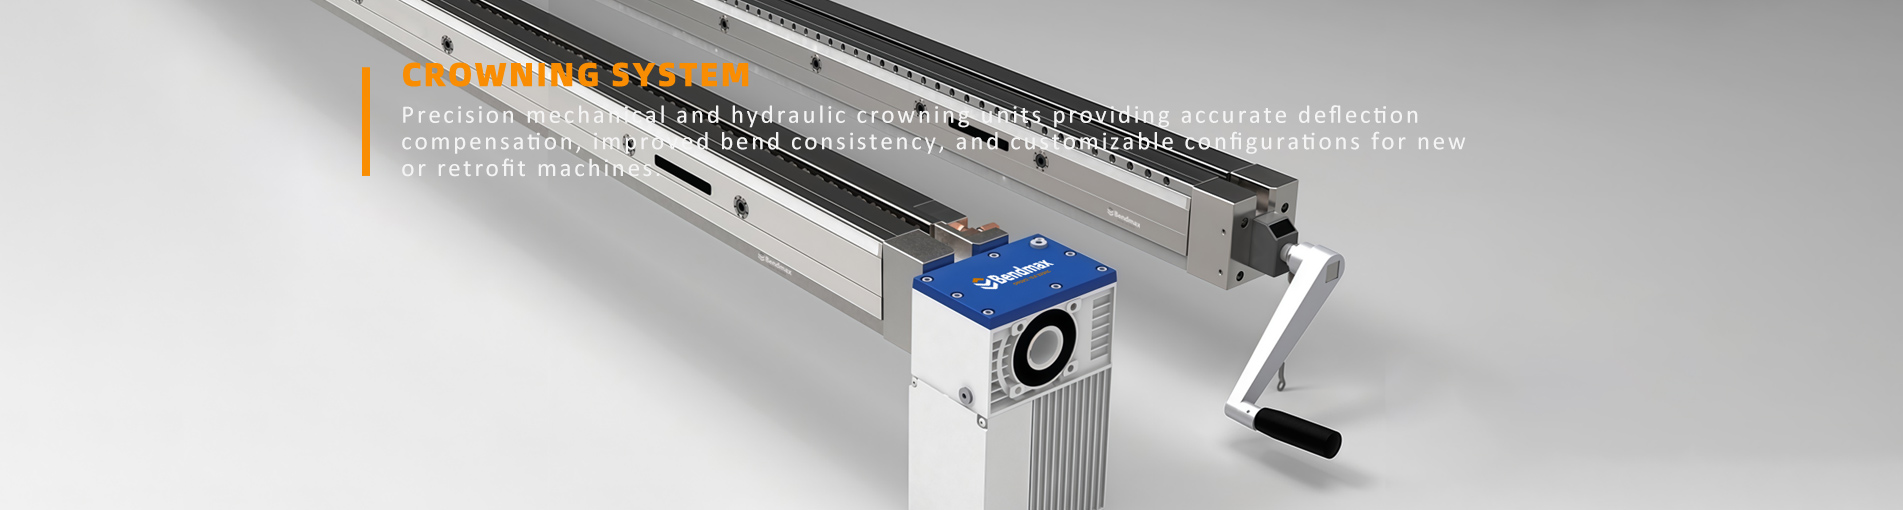
Crowning System

Crowning systems for manual, CNC, hydraulic compensation models

About bendmax

Precision press brake tooling solutions engineered for durability, compatibility, and consistent performance across global metal fabrication industries.
press brake tooing in sheet metal forming
Bendmax (Nanjing) Precision Mould Manufacturing
Bendmax is a professional press brake tooling manufacturer specializing in press brake tooling, press brake cylinders, crowning systems, and other press brake components for the sheet metal fabrication industry.   With advanced CNC machining and strict quality control, we deliver durable, high-precision solutions compatible with major press brake brands, supporting both standard and customized bending applications.  
  • Press Brake Tools
    Press Brake Tools

    High-precision press brake tooling designed for accurate bending and long-lasting performance in sheet metal fabrication.

  • Press Brake Cylinders
    Press Brake Cylinders

    High-pressure hydraulic cylinders engineered for stable and reliable press brake operation.

  • Crowning Systems
    Crowning Systems

    Precision crowning systems that ensure uniform bending accuracy across the entire workpiece length.

Grow business with the leading Manufacturer of Press prake Tooling!
Committed to becoming your most reliable one-stop manufacturer of press brake tooling and components within the next decade.

Why Choose Bendmax

Precision Tooling You Can Trust

Custom Hydraulic Cylinder Solutions for Press Brakes: Precision, Power, and Long-Term Reliability

Custom Hydraulic Cylinder Solutions for Press Brakes: Precision, Power, and Long-Term Reliability How to Choose and Customize the Right Press Brake Cylinder for Your Application     Hydraulic cylinders are the core components that provide the force needed to operate your press. They convert hydraulic energy into linear mechanical motion, allowing your press to perform tasks like bending, forming, punching, or compacting. The performance of your entire machine heavily depends on the quality and specifications of the hydraulic cylinders you install. Choosing the wrong one can lead to low precision, early wear, and frequent breakdowns. Load Requirements and Tonnage Capacity Start by identifying the maximum load your press will need to handle. Hydraulic cylinders come in different tonnage ratings, and selecting the wrong capacity can damage the cylinder or compromise press performance. If your application requires 100 tons of pressing force, for instance, choose a cylinder that matches or slightly exceeds that requirement to ensure safety and efficiency.   Stroke Length and Operating Range The stroke length is the distance the cylinder rod travels during operation. For deep forming or punching operations, you’ll need a longer stroke. Be sure to match the stroke length to your press design and the materials you work with. Too short a stroke may limit your application range, while too long a stroke can reduce cycle times and accuracy.   As core components in metal fabrication machinery, our hydraulic cylinders provide optimal and precisely customized solutions for metal forming processes. Our cylinders serve key industries by enabling critical operations: Press Brake Cylinders ensure precision bending in automotive and aerospace manufacturing; Swing Beam and Guillotine Shear Cylinders deliver efficient cutting for steel service centers; and the Main Plate Rolling Cylinder provides the force for cylindrical forming in shipbuilding and energy sectors. We deliver robust solutions that enhance productivity, accuracy, and equipment uptime for our clients worldwide.   Precision Bending We offer customized hydraulic cylinders tailored to fit a wide range of press brake models. This bespoke approach, combined with their robust construction, delivers the power and stability essential for high-volume, high-precision bending operations in the automotive and aerospace industries, maximizing your productivity.   Efficient Cutting Designed for reliability in demanding environments, our Swing Beam and Guillotine Shear Cylinders ensure synchronized movement and durable performance. This guarantees clean, burr-free cuts in steel processing and fabrication, maximizing material yield and productivity.   Heavy-Duty Forming When immense power is required, our Main Plate Rolling Cylinder provides the controlled, powerful force necessary to form thick steel plates into precise cylinders and arcs for the shipbuilding, energy, and heavy machinery sectors.     Common Mistakes to Avoid When Selecting Hydraulic Cylinders   Ignoring the Load Distribution If your press distributes the load unevenly, you might need multiple cylinders working together. In such cases, synchronization becomes important. Using a single oversized cylinder might not provide the desired precision or could result in off-center pressing, which wears components prematurely.   Overlooking the Working Environment If your press operates in harsh conditions—such as high heat, corrosive environments, or outdoor use—you’ll need a cylinder with appropriate protective coatings and seals. Stainless steel rods, special paint finishes, and high-temp seals can extend your cylinder’s life dramatically.   Choosing Based on Price Alone While it’s tempting to go for the cheapest option, hydraulic cylinders are not an area where you want to cut corners. A poor-quality cylinder will cost more in downtime, maintenance, and replacements. Choose a cylinder that balances cost, quality, and after-sales support.    Choosing the right hydraulic cylinders for your press is essential for maintaining performance, precision, and safety. By considering factors like load capacity, stroke length, bore size, and environmental conditions, you’ll be able to select a cylinder that fits your needs perfectly.      At Bendmax, we design and manufacture custom hydraulic cylinders for press brakes, shearing equipment, heavy forming machines, and industrial hydraulic systems—delivering precision and long-term reliability.  

Bendmax Solution: Mark-Free Bending for an Australian Customer Using Wing Bending Tooling

11/27/2025 While selling bending dies, what makes us happiest is helping our clients solve a range of bending problems.    Bendmax Solution: Mark-Free Bending for an Australian Customer Using Wing Bending Tooling Wing Bending Tooling reduces contact pressure for mark-free bending | Australian Client Case Study     While selling bending dies, what makes us happiest is helping our clients solve a range of bending problems. Last month, our Australian client needed to supply sheet metal parts to a local high-end equipment manufacturer, but the product appearance and precision requirements were high: the bent surface had to be free of any indentations or scratches; large-volume production required consistent bending angles; and strict dimensional tolerances and high batch stability were essential.   The client's existing press brake tools could not meet the high-appearance standards, resulting in indentations on the bent products. Even with protective film, there was still some angle deviation, and the high production volume led to significant waste. Therefore, the client wanted to customize a mould.   We were very pleased with this request; it was a perfect opportunity to showcase our capabilities.   To help the client achieve truly indented bending, the Bendmax engineering team recommended the Wing Bending Tool. We bent some samples for the client, who was very satisfied. Five sets of Bendmax Wing Bending Toolings were customized.   To ensure the final product fully met their stringent requirements, the Australian client sent a purchasing representative to the Bendmax factory for on-site inspection.   On the production site, we conducted: trial bending on the actual machine; surface flawless inspection; and angle consistency check.   The customer representative was highly satisfied with the processing quality, trial bending effect, and mold process details, and ultimately confirmed acceptance.     The wing bending tool has been in use for some time now. Below is the customer's feedback: Mass production consistently maintains a flawless, no-mark bending effect; Angle accuracy is stable, and rework rate has significantly decreased; Orders with high appearance requirements have been delivered smoothly;   Wing Bending Toolings with mark-free forming have become the new core tooling for the customer's production line.   The Australian customer highly praised this solution and plans to continue purchasing more models.  

Angle Inconsistency in Long-Part Bending? Bendmax Manual Crowning System Solves Press Brake Deflection Accurately

Angle Inconsistency in Long-Part Bending? Bendmax Manual Crowning System Solves Press Brake Deflection Accurately The Best Choice for Angle Consistency: Benefits of Crowning Systems   When bending long plates, a common problem is the bending machine sinking in the middle and tilting upwards at both ends, especially when processing longer plates.   Recently, we encountered a customer facing this typical press brake bending deflection problem. They found that when bending a 1200mm long, 3mm thick steel plate, the angle in the middle of the bent workpiece was inconsistent with the angles at the ends, resulting in an uneven bending line and inconsistent forming. Therefore, they sought a more efficient and reliable solution from us.   There are many reasons for sinking in the middle during bending. When bending long workpieces, the force distribution on the bending machine is uneven, with the middle of the machine bearing greater pressure. This results in: a larger angle in the middle area and a smaller angle at both ends, leading to an uneven bending line and inconsistent forming. Without deflection compensation, traditional bending methods can hardly achieve a stable angle.   Therefore, after understanding the customer's bending needs, our team immediately recommended using a Crowning System (deflection compensation system). This system compensates for bending deformation in real time by adjusting the slight curvature of the lower die worktable, ensuring consistent angles across the entire workpiece. We offer both mechanical and hydraulic systems, but based on the customer's needs for rapid production and budget constraints, we recommended the manual Crowning System, suitable for their existing equipment. Firstly, it offers high cost-effectiveness and simple installation; secondly, it is highly compatible with different brands of press brakes (their existing equipment uses an Amazon press brake); and most importantly, it provides stable compensation accuracy, making it ideal for the routine bending of 1–3mm long plates.     With our remote technical guidance, the customer quickly completed the installation and commissioning of the Manual Crowning System.   After being put into production, the customer reported: "The problem of mid-bending sagging is completely eliminated, and the angles of 1200mm workpieces are finally consistent." After using the Crowning System, the customer's bending angles are stable, efficiency has improved, and there is no longer a need for repeated adjustments to the bending sequence or manual correction.   For efficiently improving the bending quality of long workpieces, a Crowning System is the best choice. This case study once again proves that for bending tasks involving long plates, thick plates, and high consistency requirements, a Crowning System is an indispensable solution.   Bendmax will continue to provide reliable Press Brake Tooling and Crowning Solutions to global customers, helping them solve challenging bending problems.  

Exploring Press Brake Tooling Solutions

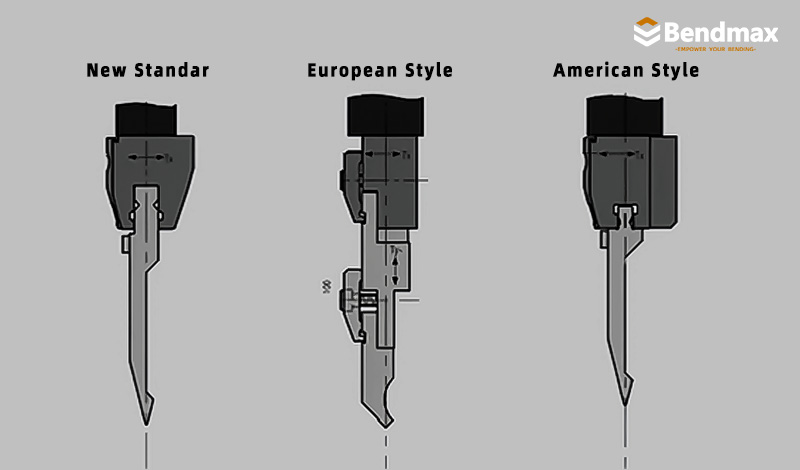
Exploring Press Brake Tooling Solutions How to Choose the Right Tooling Solution for Sheet Metal Bending      In the field of sheet metal manufacturing,Press Brake Tooling plays a critical role in determining bending quality, production efficiency, and consistency. Selecting the right tooling solution is essential when dealing with different part geometries, material types, and production requirements. By studying common bending challenges, tooling selection principles, and innovative tool structures, manufacturers can greatly improve accuracy, reduce rework, and optimize the entire forming process.   Typical tooling challenges include deflection when bending long sheets, excessive springback, part or punch interference, inconsistent angles, and difficulties when bending small flanges. Effective bending solutions often rely on choosing the proper tooling configuration—such as segmented punches for flexibility, large V-opening dies to reduce marking, offset tooling for forming multiple bends in one stroke, and window punches to eliminate interference in large U-shaped parts.   As the demand for higher precision and efficiency grows, more companies are turning to Custom Press Brake Tooling Solutions. With professional support including technical consultation, 3D verification, and custom-designed tools, sheet metal manufacturers can achieve more reliable results and maintain stable production quality.    Standard Press Brake Tooling We offer a complete range of standard press brake tooling with exceptional quality and compatibility. Whether you require New Standard, American Standard, European Standard, or additional systems, our tools deliver the high precision and durability your press brake operations demand.  Press Brake Clamping Solutions Nearly all press brakes can be upgraded with advanced clamping systems for both the ram and bed. These solutions accelerate tool changeovers, reduce downtime, and help refurbish existing beams—effectively upgrading your current press brake for higher productivity.  Custom Press Brake Tooling No matter how unique your application is, we design custom press brake tooling tailored to your bending challenges. From deep channels to complex forms, our innovative solutions turn impossible bends into achievable results—driven by our “never give up” commitment to problem-solving.  Press Brake Accessories Using professional press brake accessories can significantly enhance bending quality, precision, and overall operating efficiency. We supply a complete range of high-quality accessories designed to improve accuracy, protect materials, and support operators during every bending operation. Our available accessories include:Press Brake Accessories, Laser Alignment Device, Protective Film, Tool Cabinet, Angle Measurement Tools, Magnetic Squaring Arm...  Press Brake Cylinder                                  A well-designed press brake hydraulic cylinder greatly improves bending consistency and machine efficiency.We supply custom press brake cylinders for various machine models used in automotive, aerospace, and high-precision production.If you need further help, our engineering team is ready to support your next project with custom solutions and technical guidance. Custom Crowning System A high-precision press brake crowning system is essential for achieving consistent bending angles across the full length of the workpiece. We provide custom crowning systems designed to eliminate deflection in the press brake ram and table, ensuring stable, accurate results in every bend. Whether hydraulic or mechanical, each custom crowning system is engineered to match your machine size, tonnage, and application requirements. If you need support selecting the right system, our engineering team is ready to assist with technical guidance, tailored designs, and complete integration support.            

The Ultimate Solution to Bending Interference:Bendmax Custom Window Punch Enables Seamless Forming of Deep U-Shaped Parts

02/06/2026 Standard Tooling Fails to Provide Clearance: Brazilian Client Faces Severe Bending Interference Issues The Ultimate Solution to Bending Interference Bendmax Custom Window Punch Enables Seamless Forming of Deep U-Shaped Parts   The customer was using standard press brake tooling. Due to the large overall dimensions and high side walls of the workpiece, conventional upper and lower tooling could not provide sufficient clearance, making interference unavoidable. As a first, quick solution, the Bendmax engineering team suggested reversing the left and right segmented sections of the upper punch, creating a clearance gap in the center. This allowed the workpiece to pass through the middle space during bending, reducing the risk of collision between the punch and the part. After installing the segmented punch and performing trial bends, the customer found that, because of the large part size and deep bending depth, the available clearance was still insufficient. The interference problem could not be fully eliminated. Following a detailed analysis of the part geometry, bending sequence, bending path, and press brake configuration, Bendmax engineers recommended a more professional and reliable solution: a custom Window Punch (clearance punch / open-window punch).   The Window Punch features a large central opening, with the window size fully customizable. This design allows oversized, deep U-shaped, or box-type workpieces to pass through the punch during bending, effectively eliminating bending interference between the tooling and the part. At the same time, the Window Punch remains highly compatible with the customer’s existing press brake and can still be used for other non-interfering bending operations.   The customer accepted our recommendation and ordered a custom Window Punch with a window size specifically designed for their workpiece.   The bending display of the window tool Bending preparation  BeDouble bend    U-bending     Once the Window Punch arrived at the customer’s factory in Brazil, it was quickly put into production. The results were excellent. According to customer feedback, bending interference was completely eliminated, all bending sequences could be completed smoothly, and complex deep U-shaped parts could be formed in a single setup. The customer highly recognized this professional press brake tooling solution, and the Window Punch has since become a key tool for processing large structural components in their production.   Window tool in hardness testing   · Enhanced corrosion resistance by forming a protective oxide layer · Reduced surface reflectivity, improving operational visibility · Improved wear resistance, extending mold service life   · Uniform and professional appearance with minimal dimensional change     With extensive industry experience and strong customization capabilities, Bendmax successfully solved a bending interference problem that conventional tooling could not handle. By using a custom Window Punch, the customer not only restored stable production but also significantly improved bending efficiency and forming capability—once again demonstrating Bendmax’s expertise in high-difficulty press brake tooling solutions for global customers.   We offer a wide range of window tool options to meet your needs, and customization is available upon request

How to Choose the Right Press Brake Tooling

  How to Choose the Right Press Brake Tooling Complete Tool Selection Solution for Sheet Metal Bending Selecting the correct press brake tooling is essential for achieving precise and stable sheet metal bending results. Even with advanced press brake machines, incorrect tooling selection can cause serious problems such as bending angle errors, surface marks, material cracking, or excessive tool wear. Many sheet metal manufacturers understand their product design but are uncertain about which punch and die combination should be used. This guide provides a clear and practical tooling selection method used by professional fabrication engineers worldwide.     Press Brake Tooling Selection Process The tooling selection process can be simplified into the following steps:     1-Determine material type and thickness 2-Machine Tonnage and Bending Force 3-Tooling Material and Surface Hardness 4-Select the appropriate V-die opening 5-Choose the correct punch geometry 6-Confirm bending radius requirements 7-Check minimum flange length 8-Decide between standard or custom tooling 9-Set up Efficiency and Quick-Change Systems     Following these steps helps manufacturers select tooling that ensures accurate bending angles, reduced material stress, and longer tool life. 1 -Identify Material Type and Thickness Material properties significantly affect bending behavior. Different materials require different bending considerations: Material Bending Characteristics Mild Steel Standard bending properties Stainless Steel Higher strength and springback Aluminum Softer but sensitive to surface marks   About Material  K-Factor The K-Factor is a design parameter used to estimate how much a sheet metal part will stretch during bending. It defines the ratio between the neutral axis and the total sheet thickness. While it’s primarily a manufacturing value, understanding its role allows designers to better anticipate dimensional changes after bending. K factor varies based on material properties (ductility and strength), inside bend radius relative to sheet thickness, bending method, and tooling precision. Recommendations for K Factor: Increase the K-factor for materials with higher ductility, such as copper and brass, to account for stretching. Soft materials and sharp bends tend to push the neutral axis closer to the inside surface, lowering the K-Factor. Use a larger K-factor if bending angles exceed 120° to compensate for material elongation. A K-Factor of 0.5 implies that the neutral axis lies halfway through the material. The table below shows recommended K-factors for the most common sheet metal materials and bending techniques. Springback & Compensation Strategies Sheet metal often tries to regain its original shape when the bending or punching force is released. This affects the dimensional accuracy of the parts and should be compensated for during the design. Springback effects depend on the material properties and bend radius. Design-Focused Strategies to Compensate Springback Overbend the part slightly to match the intended final geometry. Avoid sharp bends in materials with high springback (e.g. 7075 Aluminium). Increase bend radius for ductile metals like copper to minimize stress concentration. Materials like stainless steel and aluminum require larger bend radii to reduce springback. Use lower-yield materials when tight angle tolerances are required.  Springback Compensation Formula An approximate formula to estimate springback angle (Δθ): Δθ = (K x R) / T Where: Δθ = Springback angle (degrees) K = Material constant (between 0.8–2.0, higher for stronger materials) R = Inside bend radius T = Material thickness Bend Allowance and Bend Deduction Accurate flat pattern design depends on understanding how sheet metal behaves during bending. Two key values help calculate precise unfolded lengths: Bend Allowance (BA) Bend Allowance is the arc length of the bend as measured along the neutral axis. It quantifies the material that will be “used up” in the bend. Bend Allowance Formula: BA = A × (π / 180) × (R + K × T) Where: A = Bend angle (in degrees) R = Inside bend radius T = Sheet thickness K = K-Factor Bend Deduction (BD) Bend Deduction is the amount subtracted from the total length of the flanges to get the correct flat pattern. Bend Deduction Formula: BD = L1 + L2 − (BA + inside bend) Where: L = Flange length BA = Bend Allowance Design Tips: For most 90° bends, use bend tables for standard materials if formulas are too complex. When bending high-strength alloys (e.g., 7075, 316L), expect larger BD due to springback and stress accumulation. Always align grain direction perpendicular to the bend line to prevent cracking in aluminum and brittle steels. Keep Wall Thickness Uniform The thickness of the sheet metal directly impacts the bend radius and other critical bending parameters, such as V-opening, bending force, and flange length. Understanding this relationship is crucial for ensuring the quality and durability of the bend. Maintaining uniform wall thickness ensures consistent bending behavior and prevents issues such as deformation, warping, or cracking. Design Tips: Maintain consistent thickness across the part. Avoid abrupt thickness changes or ribs near bends. If thickness changes are necessary, design gradual transitions (at least 3× sheet thickness) or use chamfers to reduce stress concentrations. Material thickness is the key parameter for calculating V-die opening size and punch radius.     2 -Machine Tonnage and Bending Force Every press brake has a maximum tonnage limit, and every tool requires a certain amount of force to bend a given material. Using incorrect tooling can damage both the machine and the tool.   To calculate the required tonnage (T) for air bending: T = (k × S² × L) / V   Where: k = material constant (1 for mild steel) S = sheet thickness (mm) L = bending length (m) V = V-opening width (mm)   Check your machine’s tonnage chart or manufacturer’s guide to ensure compatibility.     3-Tooling Material and Surface Hardness   The material of the tooling itself affects its strength, wear resistance, and accuracy. Common materials include:   42CrMo (42CrMo4): Standard tool steel with good toughness. SKD11 / D2 steel: High hardness and wear resistance. Hardened tool steel with HRC 55–60: Long service life for mass production.   Surface treatments like nitriding or chrome plating help reduce friction and prevent rust. Investing in high-quality materials may cost more upfront, but it saves money through longer tool life and consistent performance.     4– Select the Correct V-Die Opening The V-die opening (V) determines the bending force and internal bending radius. A widely used rule in sheet metal fabrication is: V = 6–10 × material thickness (T) For most mild steel bending operations, the Rule of 8 is commonly applied: V ≈ 8 × T Recommended V-Die Selection Table Material Thickness (T) Recommended V-Die Opening 1 mm 6 – 8 mm 2 mm 12 – 16 mm 3 mm 18 – 24 mm 4 mm 24 – 32 mm 6 mm 48 – 60 mm 8 mm 64 – 80 mm   Using an incorrect V-die can lead to excessive tonnage, poor bending accuracy, or material deformation.   5-Select the Correct Punch Type The upper punch determines the bending angle and whether interference occurs during forming. Common Punch Types Straight PunchUsed for standard sheet metal bending. Gooseneck PunchProvides clearance for box bending and deep parts. Acute Punch (30°)Used for acute angle bending or pre-hemming operations. Radius PunchUsed when a controlled bending radius is required. Selecting the correct punch geometry prevents collisions between the tool and the workpiece. If standard moulds cannot meet your bending requirements, then you may need to consider custom moulds.     6-Consider Bending Radius Requirements The bend radius plays a critical role in ensuring structural integrity and avoiding cracks. A too-small radius can overstress the material, especially with thicker or less ductile metals (316L or 7075). Larger radii improve formability and reduce springback, especially for materials like stainless steel and aluminum. Design Tips: Use a minimum internal radius of ≥ 1 × T for most ductile metals. For harder materials, increase to ≥ 1.5 × T to prevent cracking. Avoid specifying sharp or zero-radius bends. These concentrate stress and are likely to cause cracking—particularly in stainless steels. If a sharp profile is required visually, use post-machining or chamfering rather than tight bending. Maintain consistent radii across multi-bend parts to simplify tooling and reduce cost. Check tooling limitations if designing very tight bends or complex geometries. Typical industry recommendations: Material Minimum Radius Mild Steel R ≥ T Stainless Steel R ≥ 1.5T Aluminum R ≥ 2T Bends: Placing Bends Next to Each Other You should avoid successive bends except where absolutely necessary. A common problem for successive bends is the difficulty of fitting the bent parts on the die. However, when unavoidable, the intermediate part should be longer than the flanges. Features Around Bends: Holes, Notches & Reliefs Incorrect placement of features near bend lines can lead to deformation, stress accumulation, or tooling complications. This includes holes, slots, extrusions, and bend reliefs. Thoughtful spacing and geometry choices are essential for preserving part quality during forming. Bending Limitations by Geometry Respect Minimum Z-Bend Heights A Z-bend involves two parallel bends in opposite directions, creating a Z-shaped profile.   Z-bends (offset bends) require a minimum vertical step height to accommodate the lower tool during bending. It depends on factors like material thickness, die slot width, and the specific bending process used and avoids tooling collisions or material distortion. Design Tips:   For manufacturability, minimum Z-bend height should be ≥ 2.5× sheet thickness (T), ensuring sufficient tool clearance and structural integrity. Maintain flange length ≥ 1.5 × T to ensure proper tool engagement. Avoid tight Z-bends in high-strength alloys like stainless steel 316L or aluminum 7075. Consider increasing step height beyond minimums for tight tolerances or cosmetic surfaces. Use the material-specific guidelines in the reference tables below to determine safe step heights. Using a punch radius smaller than the recommended value may cause material cracking during bending.     7-Check Minimum Flange Length The flange length must be long enough to rest on the die shoulders during bending. A commonly used formula is: Minimum flange length ≈ 0.77 × V-die opening Example: If V = 20 mm Minimum flange ≈ 15 mm If the flange is too short, the sheet may slide into the die opening and cause inaccurate bends.   8-Decide Between Standard and Special Tooling Most bending applications can be completed using standard press brake tooling, such as: straight punches gooseneck punches standard V-dies multi-V dies However, complex parts may require custom tooling, including: hemming tools offset bending tools corrugating tools embossing tools Custom tooling allows manufacturers to produce complex geometries more efficiently.     9-Set up Efficiency and Quick-Change Systems In today’s competitive manufacturing world, downtime is expensive. Quick-change press brake tooling systems—such as WILA or Rolleri—allow operators to switch tools in minutes, rather than hours.   Benefits of quick-change tooling: Faster setup time Reduced operator fatigue Higher accuracy through self-alignment Ideal for short-run, high-mix production   If your shop performs frequent changeovers, upgrading to a precision-ground, quick-clamping system will dramatically improve throughput and efficiency.     Common Problems Caused by Incorrect Tooling Improper tooling selection often leads to production problems such as: inconsistent bending angles surface scratches on stainless steel excessive bending force premature tool wear difficulty forming complex shapes Selecting the correct tooling helps eliminate these issues and ensures stable production quality.     Why Professional Tooling Selection Matters Incorrect tooling selection may lead to several production problems: inaccurate bending angles material cracking surface scratches on stainless steel excessive tonnage requirements shortened tooling life Using a structured tooling selection method allows manufacturers to maintain consistent production quality and reduce downtime.     Press Brake Tooling Selection Calculator Quick Calculation Guide for Punch and Die Selection Selecting the correct press brake tooling can be simplified by using several commonly accepted engineering formulas. These rules allow operators and engineers to quickly estimate the correct tooling configuration for most sheet metal bending applications. Below are the most commonly used calculation methods in the sheet metal fabrication industry.     1. V-Die Opening Calculation The recommended V-die opening (V) is usually determined based on material thickness. Industry Rule V = 6 – 10 × Material Thickness (T) For most mild steel bending applications, the commonly used rule is: V ≈ 8 × T Example Material thickness = 3 mm Recommended die opening: V ≈ 3 × 8 = 24 mm Recommended die: V24 die     2. Minimum Flange Length Calculation The flange must be long enough to rest on the die shoulders during bending. Calculation Formula Minimum Flange Length ≈ 0.77 × V Example If V = 24 mm Minimum flange length: 0.77 × 24 ≈ 18.5 mm This means the flange should be at least 18–19 mm for stable bending.     3. Bending Force (Tonnage) Estimation The approximate bending force required can be estimated using the following simplified formula. Tonnage Formula Tonnage (kN/m) = 1.42 × σ × T² / V Where: σ = tensile strength of material T = sheet thickness V = die opening Simplified Rule (Mild Steel) For mild steel bending: Approximate tonnage ≈ 8 × T² (per meter) Example: 3 mm steel 8 × 3² = 72 tons per meter   4. Recommended Punch Radius The punch radius should be selected based on material type and thickness. Material Recommended Radius Mild Steel R ≈ 1 × T Stainless Steel R ≈ 1.5 × T Aluminum R ≈ 2 × T   Using a punch radius that is too small may cause material cracking during bending.     5. Standard Punch Angles Press brake punches are typically produced in standard angles to allow proper springback compensation. Common punch angles include: 30° punch – acute bending and hemming preparation 60° punch – medium angle bending 85° punch – special applications 88° punch – standard 90° air bending The 88° punch + 78° die combination is widely considered the industry standard for 90° bending.     Example Complete Tooling Selection Part specification: Material: Mild steelThickness: 4 mmRequired bend: 90° Recommended tooling configuration: Punch: 88° punch with R4 radiusDie: V32 die (8 × thickness)Bending method: air bending This combination provides a stable bending angle and balanced forming force. Bendmax Engineering Support Although these formulas provide a quick estimation, complex parts often require professional tooling analysis. Bendmax engineers can assist customers by: analyzing part drawings recommending punch and die combinations designing custom tooling solutions for complex bending applications This ensures reliable bending performance and improved production efficiency.       FAQ – Press Brake Tooling Selection What is the most common V-die size for sheet metal bending? The most common rule is V = 8 × material thickness, often referred to as the Rule of 8. Why do most punches use an 88° angle? An 88° punch allows compensation for material springback and helps achieve accurate 90° bending angles. When should I use a gooseneck punch? Gooseneck punches are used when bending box shapes or deep profiles, where a straight punch would interfere with the workpiece. Can one tooling set bend different sheet thicknesses? Yes. Multi-V dies allow operators to select different V openings for various material thicknesses.   Need Help Selecting Press Brake Tooling? If you are unsure which tooling configuration is best for your application, Bendmax engineers can help analyze your part drawings and recommend the most suitable press brake tooling solution.        

Solution: One-Hit Rib Bending for 1.2 mm Steel Sheet Using Amada Press Brake

    Solution: One-Hit Rib Bending for 1.2 mm Steel Sheet Using Amada Press Brake Customer Requirement     The customer approached us with a specific bending challenge involving a thin steel sheet with rib structure, requiring both efficiency and dimensional consistency. Customer's main requirements included: Material: Steel sheet, 1.2 mm thickness Machine: Amada press brake Lower die opening: V = 60 mm Forming method: One-hit forming (single-step bending) Part feature: Multi-angle profile with reinforcement rib (stiffening structure) Quality expectation: Stable bending angles Clean forming without distortion Consistent rib shape High repeatability for batch production   Because the workpiece includes rib geometry and multiple bending angles, standard straight punches were not suitable for achieving the required shape in a single operation.   Challenge Analysis After reviewing the drawing, our engineering team identified several key challenges: 1. Rib Structure Requires Controlled Material Flow The presence of a rib (reinforcement feature) increases forming resistance and changes how material flows during bending. Without proper tooling support: The rib may collapse or deform Material stress may cause angle deviation Multiple forming steps may be required This would reduce production efficiency and increase cycle time.   2. One-Hit Forming Requires Precision Tool Matching The customer specifically required one-hit forming, meaning: All angles must be formed in a single stroke Tool geometry must match the part profile precisely Springback must be properly compensated This requires custom-profile tooling, not standard punches.   3. Thin Material Needs Stable Support With 1.2 mm steel, incorrect tooling selection may cause: Wrinkling Uneven angles Surface deformation Reduced rib accuracy Proper support from the die shoulders is essential.   Our Solution: Rib Bending Tooling Recommendation After technical evaluation, our engineers recommended using custom Rib Bending Tooling, specifically designed to match the profile shown in the drawing.   Recommended tooling configuration: Tool Type: Rib Bending Punch & Die Set Machine Compatibility: Amada system Lower Die Opening: V = 60 mm Forming Method: One-hit profile forming Material Support: Optimized for thin sheet forming Profile Matching: Custom geometry following part rib shape This tooling design allows the rib and angles to be formed simultaneously in one press stroke.   Why Rib Bending Tooling Was Selected The rib structure shown in the drawing includes: Multiple bending angles (155° + 110°) Reinforcement rib geometry Controlled dimensional spacing Standard punches cannot accurately control deformation in such structures. Rib bending tooling provides: Accurate Rib Formation The specially designed punch nose supports the rib geometry and prevents collapse during forming. One-Step Production Efficiency With matched tooling geometry: No secondary forming required Reduced cycle time Higher production efficiency Improved Dimensional Consistency Custom rib tooling ensures: Stable angle accuracy Uniform rib height Reduced springback variation Result Achieved After implementing the recommended rib bending tooling, the customer successfully achieved: One-hit forming operation completed successfully Stable rib structure without deformation Accurate bending angles Improved production efficiency Consistent batch production quality The final formed parts met the customer's dimensional and functional requirements.     Engineering Insight This case demonstrates that when bending parts with rib or stiffening structures, selecting the correct tooling profile is critical. For components requiring: Reinforced rib features Multi-angle forming Thin sheet precision bending Single-hit forming efficiency Custom rib bending tooling is often the most reliable solution.          

Types of Flattening and Hemming Tooling for Press Brakes: A Complete Guide

In sheet metal fabrication, hemming and flattening operations are widely used to improve part strength, safety, and appearance. These processes are essential in industries such as automotive manufacturing, electrical cabinets, appliances, and metal furniture production. Selecting the correct press brake hemming and flattening tooling is critical for achieving consistent results, avoiding surface damage, and improving production efficiency. Different tooling types are designed to meet specific material thicknesses, production volumes, and surface quality requirements. This guide introduces the most common types of flattening and hemming tooling, explains their working principles, advantages, and applications, and helps manufacturers choose the right tooling solution. 1. What Is Flattening and Hemming in Sheet Metal Bending? Hemming is a bending process in which the edge of a sheet metal part is folded back onto itself. The final stage of hemming is called flattening, where the folded edge is pressed flat to create a smooth and reinforced edge. Why Hemming Is Important Hemming is widely used because it: Improves edge strength Eliminates sharp edges Enhances product safety Improves appearance quality Adds structural rigidity Common Types of Hemming Open Hem – A small gap remains between layers Closed Hem – Fully flattened Teardrop Hem – Used to avoid cracking Rolled Hem – Rounded hem edge 1/ Standard Two-Step Hemming Tooling Working Principle: Standard hemming is usually performed in two steps: Step 1 – Pre-Bending: The sheet metal is bent to approximately 30°–45°. Step 2 – Flattening: A flattening punch and die are used to press the hem flat. Advantages: Most widely used method Cost-effective tooling Easy to operate Suitable for many materials Stable and reliable results Typical Applications: Electrical cabinets Metal enclosures Furniture panels Appliance housings 2/ Acute Angle + Flattening Tooling Working Principle: An acute punch is used to create a sharp pre-bend angle before flattening. This improves hemming precision and reduces material deformation. Advantages: Higher accuracy Better control of bend angle Suitable for thin materials Reduces cracking risk Typical Materials: Stainless steel Galvanized steel Aluminum Cold-rolled steel 3/ One-Step Hemming Tooling One-step hemming tooling completes pre-bending and flattening in a single stroke. Advantages: Extremely high efficiency Ideal for mass production Suitable for automated lines Reduces cycle time Typical Industries: Automotive manufacturing Home appliances Large-scale production lines 4/ Spring-Loaded Hemming Tooling Spring-loaded tooling includes internal springs that automatically adjust pressure during flattening. Advantages: Compensates for thickness variation Improves consistency Produces uniform hems Suitable for precision parts Applications: Automotive panels Precision sheet metal parts Decorative components 5/ No-Mark Hemming Tooling No-mark tooling uses Rollers, Nylon inserts, or PU inserts to prevent surface damage. Advantages: Prevents scratches Improves surface quality Reduces finishing work Ideal for visible parts Typical Materials: Stainless steel Aluminum Coated sheets Decorative panels 2. How to Choose the Right Hemming Tooling The type of material being bent plays a critical role in tooling selection. Different materials behave differently during flattening and hemming operations. 1/ Common Material Considerations Mild Steel (CRS)Mild steel is one of the easiest materials for hemming. Standard two-step hemming tooling is usually sufficient for most applications. Stainless SteelStainless steel has higher strength and lower ductility, making it more prone to cracking during flattening. In this case: Acute pre-bending tooling is recommended Larger inside bend radius may be required Spring-loaded hemming tooling improves results AluminumAluminum is softer but more sensitive to surface damage. For aluminum sheets: No-mark hemming tooling is recommended Roller or nylon insert dies help prevent scratches Galvanized or Coated MaterialsSurface protection is critical. Using standard steel dies may cause scratches. No-mark hemming tooling PU or nylon protected flattening dies 2/ Sheet Thickness Sheet thickness is one of the most important parameters when selecting flattening tooling. Different tooling types are suitable for different thickness ranges. Thin Sheet (0.5–1.5 mm)Thin materials require precise control to prevent wrinkling or cracking. Recommended tooling: Acute angle + flattening tooling Standard two-step hemming tooling Medium Thickness (1.5–3.0 mm)This thickness range is common in electrical cabinets, metal furniture, and equipment housings. Recommended tooling: Standard flattening tooling Spring-loaded hemming tooling Thick Sheet (>3.0 mm)Additional bending force is required, and tooling strength becomes critical. Recommended tooling: Heavy-duty flattening tooling High-strength alloy steel dies 3/ Hem Type Requirements Open HemLeaves a small gap inside, requires less force, easier to produce. Suitable for structural components and non-visible parts. Closed HemFully flattened, requires higher precision and more demanding tooling. Suitable for decorative parts and visible edges. Teardrop HemUsed when cracking risk is high. Recommended for stainless steel and thick materials. 4/ Surface Quality Requirements Surface quality is a major concern. Standard flattening tooling may leave surface marks, scratches, or pressure lines. If surface appearance is critical, No-Mark Hemming Tooling (with rollers, nylon inserts, or PU protection) is highly recommended for: Stainless steel panels Decorative aluminum parts Appliance exterior components Elevator panels 5/ Production Volume Low-Volume: Standard two-step hemming tooling (Lower initial cost, flexible). Medium-Volume: Spring-loaded hemming tooling (More stable performance, improved repeatability). High-Volume: One-step hemming tooling (High efficiency, ideal for automotive and appliance automation). 6/ Press Brake Compatibility Not all tooling systems are interchangeable. Common tooling systems include Wila System, Trumpf System, Amada System, and LVD System. For example, if using a Wila-style press brake, compatible tooling such as Flattening Punch NO.19.041 and Flattening Die NO.29.384 ensures accurate positioning and reliable bending results. 7/ Tooling Material and Hardness Tooling durability depends heavily on material and heat treatment quality. High-quality flattening tooling is typically made from 42CrMo with a hardness range of HRC 54–60. This provides longer service life, better wear resistance, and stable flattening performance. 8/ Cost vs Performance Balance Selecting tooling is not only about performance — cost efficiency is also important. Using high-quality flattening tooling may have a higher initial cost but can significantly reduce long-term replacement expenses. 3. Recommended Tooling Solutions for Common Hemming Problems In practical sheet metal production, selecting the correct tooling combination is often the most effective way to solve hemming defects. Problem 1 — Cracking Along the Hem Line Causes: Inside bend radius too small, low ductility, excessive compression. Solutions: Use acute pre-bending punch, increase bend radius, apply two-step process. Engineering Benefit: ✔ Reduces tensile stress✔ Improves material flow✔ Prevents crack formation Problem 2 — Wrinkling During Flattening Causes: Thin sheet material, insufficient die support, uneven pressure. Solutions: Use spring-loaded hemming tooling, increase flattening support surface, use wider dies. Engineering Benefit: ✔ Improves pressure uniformity✔ Stabilizes thin sheet material✔ Reduces deformation risk Problem 3 — Surface Marks or Scratches Causes: Direct steel-to-steel contact, rough tooling surface, tool wear. Solutions: Use no-mark hemming tooling, apply roller-type flattening dies, use nylon or PU inserts. Engineering Benefit: ✔ Protects visible surfaces✔ Improves product appearance✔ Reduces finishing cost Problem 4 — Uneven Flattening Causes: Tool misalignment, uneven press brake load, tool deformation. Solutions: Use precision-ground flattening tooling, verify alignment, calibrate press brake regularly. Engineering Benefit: ✔ Ensures consistent flattening✔ Improves dimensional accuracy✔ Enhances structural strength Problem 5 — Excessive Tool Wear Causes: Low-quality material, insufficient hardness, high friction. Solutions: Use high-strength alloy steel (HRC 54–60), deep-hardened dies, regular inspection. Engineering Benefit: ✔ Extends tooling life✔ Reduces maintenance cost✔ Improves long-term reliability Recommended Hemming Tooling Example For standard two-step hemming operations in medium-thickness sheet metal, a commonly recommended tooling combination includes: Acute Punch for pre-bending Wila-System Flattening Punch NO.19.041 Wila-System Flattening Die NO.29.384 This combination provides stable flattening performance, improved dimensional accuracy, and consistent hemming quality for electrical cabinets, metal enclosures, and Appliances. 4. Tool Maintenance Tips for Hemming and Flattening Tooling Proper maintenance of hemming and flattening tooling is essential for ensuring consistent bending quality, extending tooling life, and reducing long-term production costs. 1/ Regular Cleaning of Tooling Surfaces Clean tooling surfaces after each production shift Use soft cloths or non-abrasive cleaning tools Remove metal chips and dust immediately Avoid using hard tools that may damage tooling surfaces 2/ Regular Inspection for Tool Wear Visually inspect tooling edges regularly Check for surface roughness or micro-cracks Measure critical dimensions periodically Replace tooling when wear exceeds tolerance limits 3/ Proper Lubrication Practices Apply anti-rust oil during storage Use suitable lubricants when processing difficult materials Avoid excessive lubrication that may contaminate surfaces Clean excess oil before operation 4/ Correct Tool Storage Methods Store tools in dedicated tooling cabinets Use protective separators between tools Keep tooling in dry environments Avoid stacking tooling directly on each other 5/ Preventing Tool Overload Always verify required tonnage before operation Use tooling within its load capacity Avoid sudden impact loading Monitor machine pressure settings regularly 6/ Periodic Regrinding and Surface Refinishing Perform regrinding when wear becomes noticeable Maintain correct geometry after regrinding Use professional grinding equipment Verify dimensions after refinishing 7/ Recommended Maintenance Schedule Daily: Clean surfaces, remove metal debris, apply light protective oil. Weekly: Inspect edges, check alignment, verify surface finish. Monthly: Measure dimensions, check hardness, perform minor refinishing if needed. 5. Why Choose Professional Hemming Tooling Solutions In modern sheet metal fabrication, the quality of hemming and flattening tooling directly determines the final product appearance, structural strength, and production efficiency. Choosing a reliable tooling supplier is not only about price, but also about precision, durability, and long-term stability. 1/ Precision Manufacturing Ensures Stable Performance Professional hemming tooling is manufactured using high-grade alloy steel and advanced CNC machining processes to ensure dimensional accuracy and consistency. High dimensional precision Stable forming performance Consistent hemming quality Reduced production variation 2/ High-Quality Material and Heat Treatment Reliable hemming tooling is typically manufactured from high-strength alloy steels such as 42CrMo and hardened tool steel grades. Through controlled heat treatment, the tooling achieves a hardness level of HRC 54–60. This ensures: Excellent wear resistance Long service life Stable deformation resistance under load 3/ Application-Proven Tooling Design Professional tooling solutions are designed based on real industrial applications, ensuring compatibility with standard hemming processes, no-mark surface requirements, and high-volume production lines. Automotive body panels Electrical enclosures Stainless steel cabinets Appliances

Bendmax NEWS

Latest company news, industry insights, and expert blogs to keep you updated on press brake tooling trends and innovations.
  • News
  • Blogs
Leave A Message
If you are interested in our products and want to know more details,please leave a message here,we will reply you as soon as we can.
submit

leave a message

leave a message
If you are interested in our products and want to know more details,please leave a message here,we will reply you as soon as we can.
submit

home

products

WhatsApp

Contact Us